


A place for random fun stuff!

I have always been of the opinion that you should build, make, invent the solution to your problem. This is a fairly basic one if you are not afraid or metal.
I had a brand new set of Scat rods that I was going to put in my SBC build for my 1956 Chevy 3200 but no way to make sure that the box info matched the actual rods. So I stared looking for a jig, I found one, looked at the price and turned around and went straight to my local Alro to get some aluminum for a built.
1. 8”x18”x3/8” base plate
2&3. 3”x5”1/2” scale fixture (2 pieces)
4. 1”x3/4”x5” support arm
5.1”x5”x3/8” pendulating arm
6. 10”x3/4 round rod
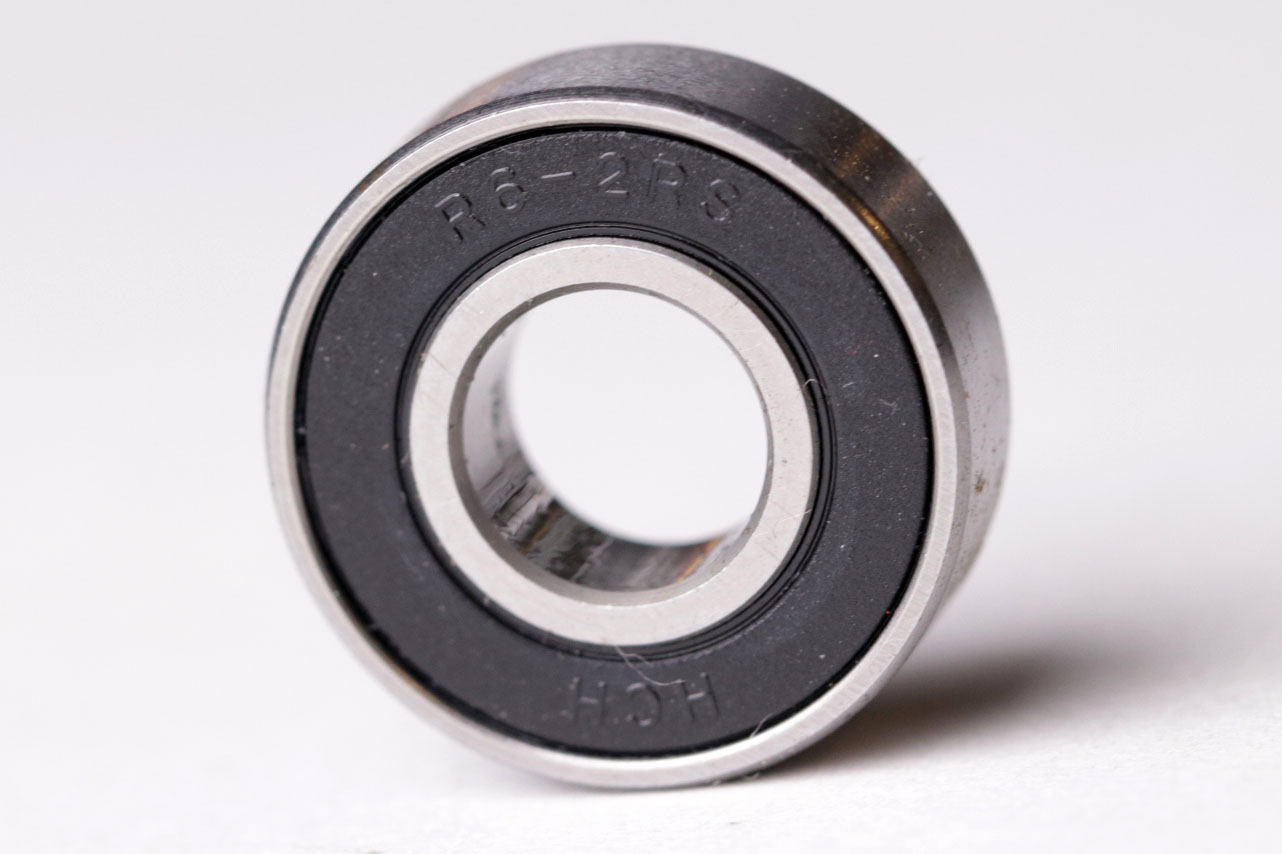
7. r6-2rs ball bearing X7
8. 3/8-16 2” bolt X 3
9. 3/8 -16 nut X6
10. 1/4 -20 flat head machine screw X 3
11. 1/4 -20 hex bolt
The bolts and nuts were obtained at my local hardware store. The only components that I had previously acquired for a different project were the R6-2RS bearings. These are used frequently in RC cars so if you have a local shop that caters to this market you can get all the components in one day. Another option would be a local Grainger or Fastenal where you would likely get a better product at a much higher price. If a one day build is not your goal then the usual suspects, Ebay, Amazon would likely yield a better price per piece with a minimum time delay.
The bearing bolt combination is critical as the ID of the bearing is 3/8 and it mates perfectly with the bolt. You can choose to work with a different bearing but the bolt may need to be replaced to match it. Also you will need to ensure that the bearing fits in the small connecting rod side if you decide to go with a bigger outside diameter.
This requires some tooling but not a full machine shop. At minimum you will need a hack saw, a vise, an electric drill, drill bits, with a few that are not commonly found in a standard set. The bearing OD is 7/8 so you need to be able to go up to that size. A good value proposition for that is this set that you can pick up at HF.
You will also need a tap. I went with 1/4-20 thread so I only needed to use one. You can get a single tap at your local hardware store or if you already own a different one you can change the bolts to that as long as it does not exceed the size of the material you are working with.
The build itself is fairly simple. I have attached the video for those of us than prefer that medium and also the PDF with the sizing for the one I built and used. Keep in mind that these dimensions are not set in stone or rather aluminum and can be change to match your scale and stock used for the build. I designed this so it could have the most adjustability that I could squeeze in it.
And if the pictures(below) and video still leave you with question, not the why am I here, what is my purpose kind, but build ones, leave your question in the comments of the YouTube video.
Good luck with your build, jig and motor!